Since one of my goals is to introduce people to Information Cards – and because I used to get mountains of spam comments and worse (!) – I require people to either write to me or use an Information Card when leaving comments on my blog.
(This blog is hosted for me by Joyent, and it runs on open source software (WordPress, PHP, MySQL, Apache, OpenSolaris). For Information Card support, it uses Pamelaware, an open-source project offering an Information Card plugin for WordPress and other popular programs.)
Information Cards use an “identity selector”. Vista has the CardSpace V1 selector built right in. (If you don't use Vista please continue here. Also, if you are wondering about our new beta of Windows CardSpace Geneva – V2 if you want – I'll deal with that in a separate post.)
How you register at my site
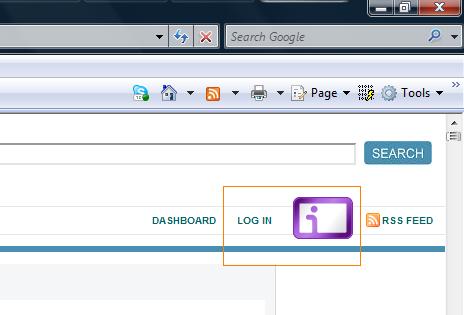
1. Click the Information Card logo or the “LOG IN” option in the upper right hand corner of the blog. (Clicking the logo saves you the step where you can learn about Information Cards).
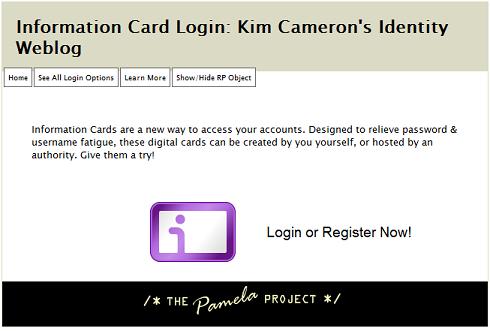
2. If you clicked the logo, go to step 3. If you have clicked “LOG IN”, you will see this page and can explore the ‘Learn More’ and other tabs. When ready, click on the Information Card logo to proceed.
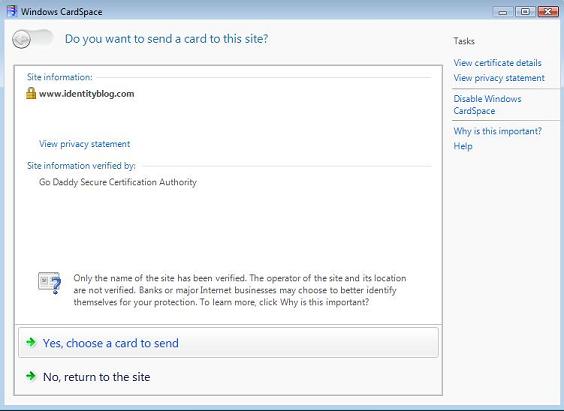
3. CardSpace will start (it may be a bit slow the first time it loads). It will verify my site's certificate, and present it t you so you can decide whether or not to proceed. Click “Yes, choose a card to send”.
4. If you are trying CardSpace for the first time, you don't have a “Managed” card yet. So just create a “Personal Card” that serves a bit like a username / password – except it can't be phished and protects your privacy by automatically using a different key at every site.
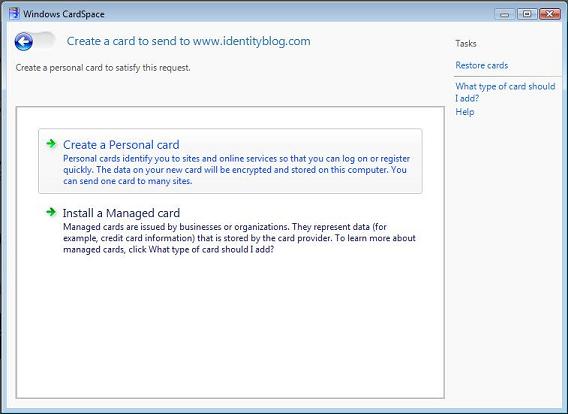
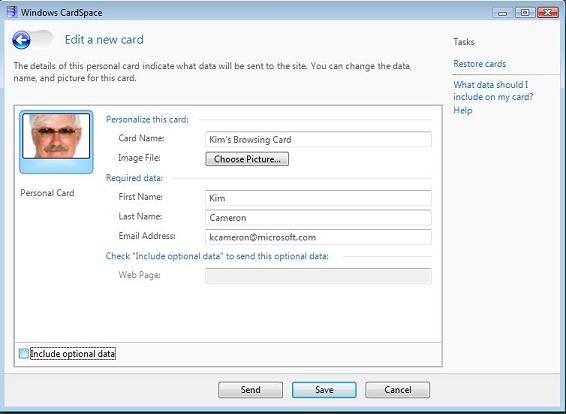
5. You'll be asked to create a Personal card. Name it with something you'll recognize, and I recommend you put a picture on it (the picture will never be sent). The name and picture prevent many attacks since if someone tries to fool you with a CardSpace “look-alike”, they won't know what your Cards look like and you will immediately notice your cards aren't present!
Use an email address that you control – you will have to respond to a confirmation email. Then click SAVE.
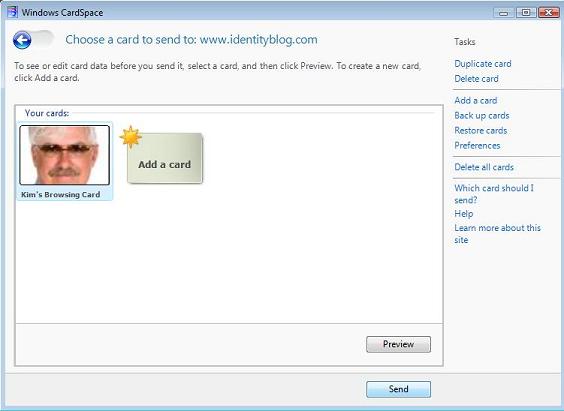
6. Now you'll see your saved card, and click SEND.
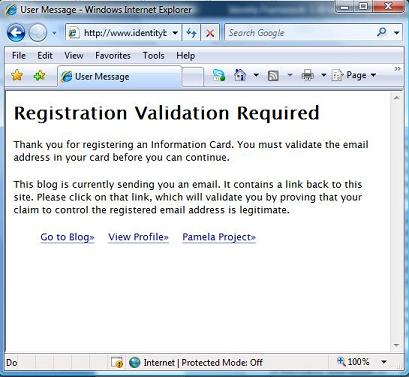
7. The information from your card will be used to log in to my site, but I'll notice you haven't been here before and send you an email that you must click on to complete registration (I want some way to prevent spammers from bothering me).
8. The email I send looks like the one below. IMPORTANT NOTE: this email might be “eaten” by your spam protection software (!) , so don't overlook your spam folder to find it. (On Hotmail, it doesn't ever get delivered – haven't sorted that out yet. It doesn't seem to like my little mail server.)
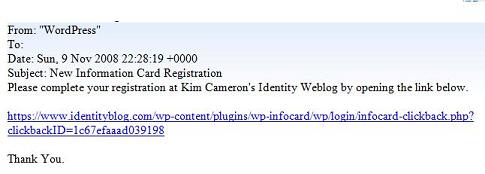
9. When you click the embedded link you'll be taken back to my blog as a verification step. Click on the Information Card logo to log in.
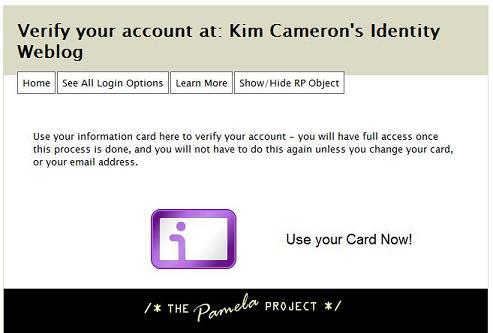
10. CardSpace will come up, and will recognize my site. Just click send.
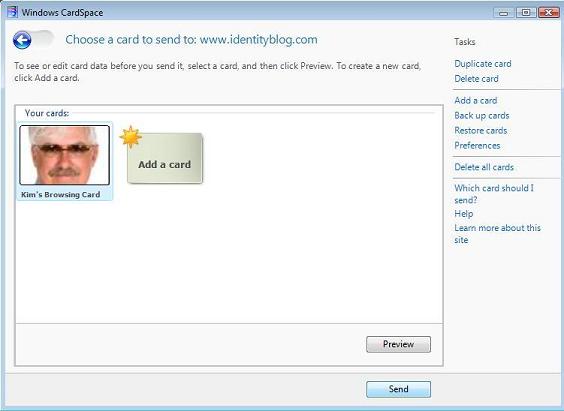
11. Et voila…
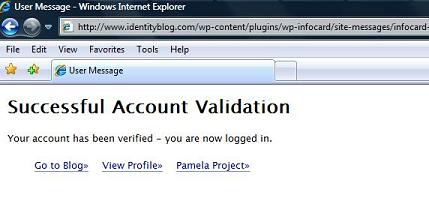
Press “Go to Blog” and you can leave your comment.
In the future, logging in will just be a two-step process. Click on the CardSpace logo, click on your personal card, and you will be logged in. No password to remember.


 / LinkedIn / insert social network here.


